
Window replacement can be challenging, but with the right tools and guidance, you can achieve a professional result. Whether you’re looking to improve energy efficiency or update the look of your home, knowing how to install replacement windows is a valuable skill. In this guide, we’ll walk you through the entire process, step by step, ensuring your new windows are installed correctly.
Tools and Materials Needed
Before starting, gather all necessary tools and materials. Having everything on hand will make the installation process smoother and more efficient.
Tools:
- Tape measure
- Level
- Pry bar
- Utility knife
- Hammer
- Screwdriver or drill
- Caulk gun
Materials:
- Replacement windows
- Insulation foam
- Window shims
- Exterior caulk
- Screws and nails
- Flashing tape
Step-by-Step Guide to Installing Replacement Windows
1. Measure the Window Opening
Accurate measurements are crucial. Measure the width and height of the window opening in three places (top, middle, bottom for width and left, center, right for height). Use the smallest measurement to ensure the replacement window fits properly.
2. Remove the Old Window
Begin by removing the interior stops and sashes. Use a utility knife to cut any paint or caulk that might be sealing the window in place. Carefully pry out the old window, avoiding damage to the surrounding frame.
3. Prepare the Opening
Clean the window opening thoroughly. Remove any old caulk or debris. Check for rot or damage in the window frame and repair as needed. Apply flashing tape around the perimeter of the opening to create a water-resistant barrier.
4. Fit the New Window
Place the new window into the opening to test the fit. Use shims to center the window and ensure it’s level and plumb. Adjust as necessary until the window sits evenly in the opening.
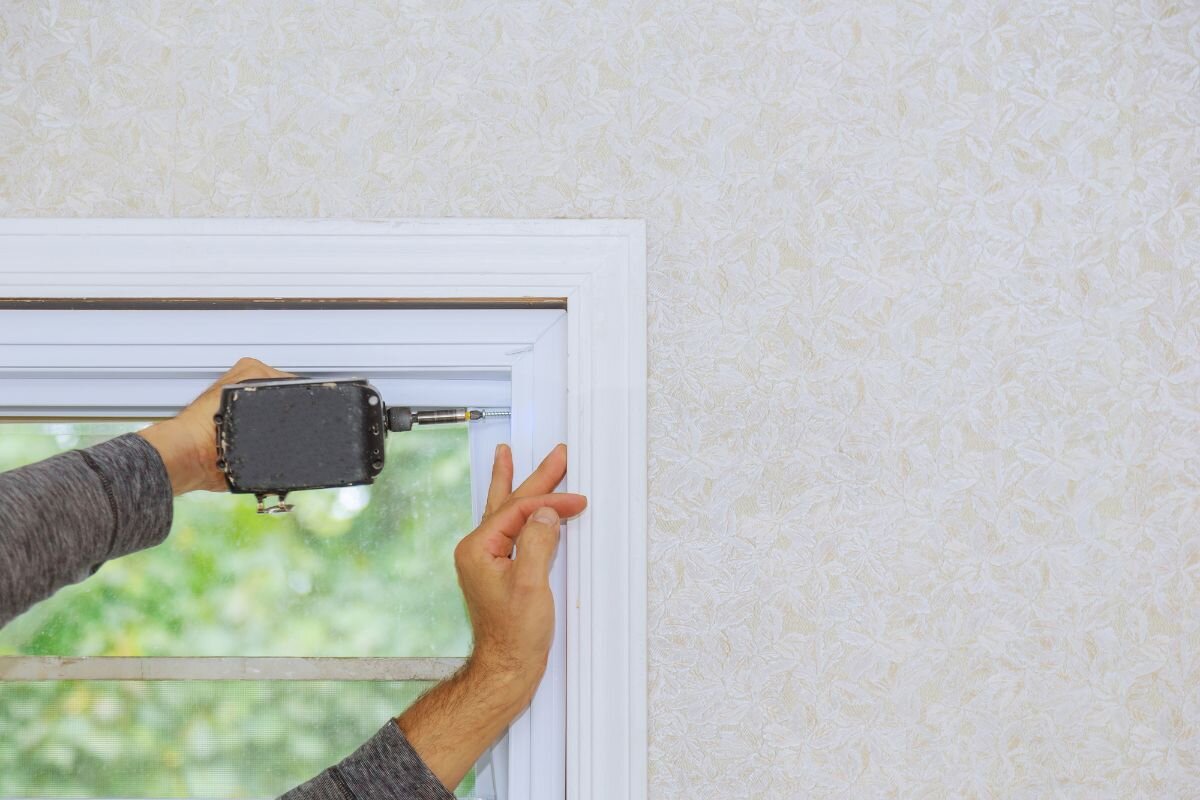
5. Secure the Window
Once the window is positioned correctly, secure it using screws. Start by screwing in the top corners, then move to the bottom corners. Check the window for level and plumb frequently as you secure it. Fill any gaps between the window and the frame with insulation foam for better energy efficiency.
6. Install Interior Stops
Reattach the interior stops that you removed earlier. If they are damaged, consider replacing them with new ones. This step helps hold the window securely in place and gives a finished look.
7. Caulk and Seal
Apply exterior caulk around the perimeter of the window to seal any gaps. This step prevents water and air infiltration, ensuring your new windows are energy-efficient and weather-tight.
8. Final Adjustments
Open and close the window to ensure it operates smoothly. Make any necessary adjustments to the hardware or shims. Clean the window and surrounding area to remove any installation debris.
Tips for a Successful Installation
- Double-check measurements: Accurate measurements are key to a successful installation.
- Work with a partner: Having someone to help can make the process easier and safer.
- Use high-quality materials: Invest in good quality caulk, screws, and insulation to ensure the longevity of your windows.
- Take your time: Rushing can lead to mistakes. Follow each step carefully for the best results.
Common Mistakes to Avoid
- Skipping the flashing tape: This can lead to water damage.
- Improper insulation: Ensure all gaps are filled to prevent drafts.
- Neglecting the level: An unlevel window can cause operational issues and look unprofessional.
In Summary
Installing replacement windows may seem challenging, but with careful planning and attention to detail, it’s a project that many homeowners can tackle themselves. Proper installation not only enhances the aesthetic appeal of your home but also improves its energy efficiency and value.
If you have any doubts or need assistance on how to install replacement windows, don’t hesitate to contact us for professional advice or services.