The James Hardie Siding Installation process is a top choice for homeowners seeking durability, aesthetics, and value for their homes. Selecting the right siding goes beyond mere appearance, it covers factors like longevity, maintenance, and protection from the elements. James Hardie siding stands out in the industry, offering a blend of visual charm with unparalleled resilience against various climatic challenges. We’re going to dig into the details of the James Hardie Siding Installation process, ensuring you understand what makes it stand out in the market.
The Appeal of James Hardie Siding
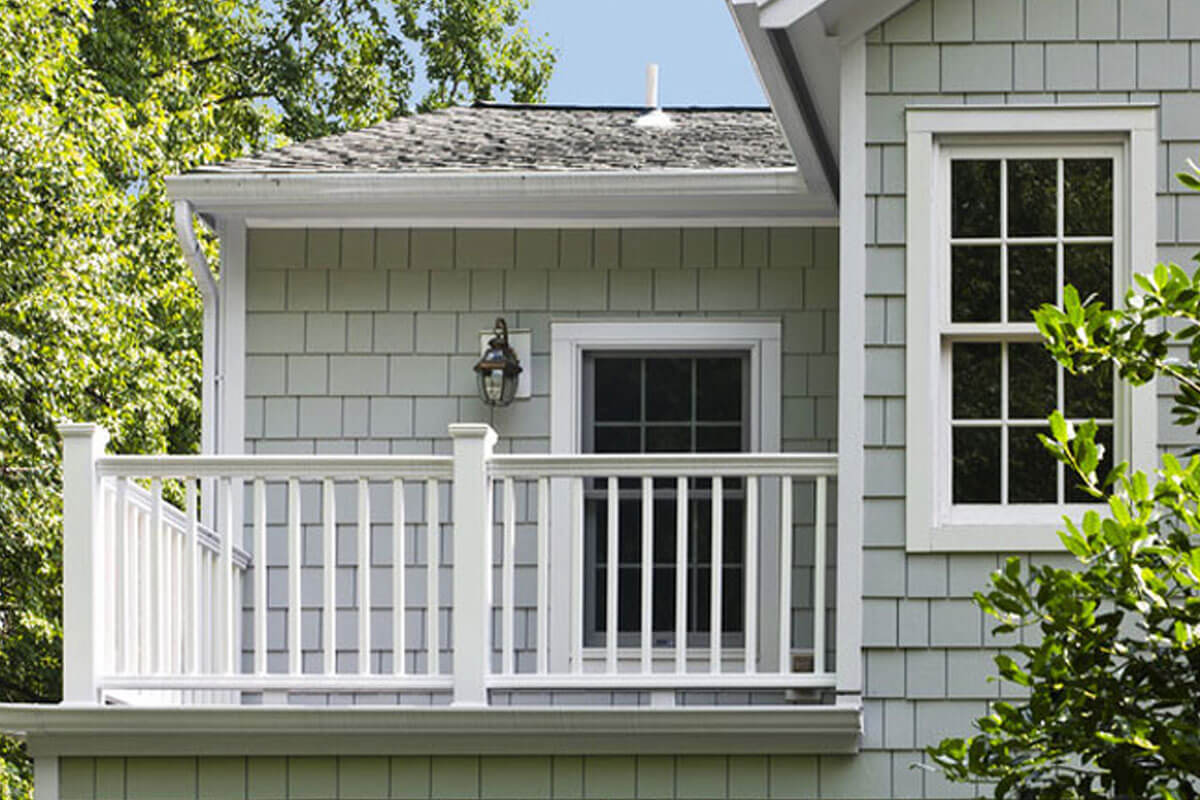
James Hardie siding, often referred to as HardiePlank or HardieBoard, is renowned for its robustness and long-lasting nature. Crafted from fiber cement, this siding blend offers a wood-like appearance without the common pitfalls of natural wood, which means it resists rot, warping, and termite infestations.
But durability isn’t its only selling point. James Hardie siding is available in a plethora of styles and colors, enabling homeowners to achieve the perfect look they desire. Be it the charm of a vintage abode or the sleekness of a modern architectural masterpiece, this siding caters to all. Additionally, its fire-resistant qualities offer homeowners peace of mind, knowing their home has an added layer of protection against potential fire hazards.
Pre-Installation Steps
Before exploring into the installation process, there are essential preparatory steps to ensure the process is smooth and yields optimal results:
- Site Assessment: It’s crucial to evaluate the condition of the existing siding and the structural integrity of the walls. This assessment identifies areas that may need repairs or modifications to accommodate the new siding.
- Material Selection: James Hardie offers a range of products, each tailored to specific architectural designs and climatic conditions. Coupled with the HardieZone System, homeowners can select a product optimized for St. Louis‘s unique weather patterns.
- Receiving The Materials: Once the ideal product type is chosen, the next step involves ordering the required quantity, factoring in a little extra for contingencies. It’s imperative to have all materials on-site before the installation begins to ensure a seamless process.
The Installation Procedure
- Safety First: Every James Hardie Siding Installation begins with setting up the safety measures. This includes wearing protective gear and ensuring the workspace is safe for both the installers and the inhabitants.
- Removing Old Siding: If there’s existing siding, it’s carefully removed. The underlying surface is then inspected for damages or imperfections that could affect the new siding’s adhesion and performance.
- Surface Preparation: A moisture barrier is installed to prevent water infiltration, which can cause mold growth and structural damage. This step is pivotal for the siding’s longevity.
- Installing the Siding: Beginning at the base of the house and working upwards, the James Hardie siding is methodically nailed into place, ensuring each plank is level and securely fastened. Overlapping techniques are employed to prevent water seepage at the joints.
- Finishing Touches: Once all the siding is in place, any trim, soffits, or fascias are added, giving the house a complete, polished look. The final step involves sealing any gaps or joints with high-quality caulking to ensure watertightness.
Why Choose Hawthorn Home Exteriors for Your James Hardie Siding Installation
Our team is not only well-versed in the details of James Hardie products but also committed to delivering impeccable craftsmanship. Our installations are backed by experience, precision, and a genuine desire to see our clients fully satisfied with the transformation of their homes. The James Hardie Siding Installation process, when done correctly, can transform your home’s exterior, enhancing its beauty, durability, and overall value. For a seamless, professional, and top-notch siding experience, don’t hesitate to contact Hawthorn Home Exteriors today.


