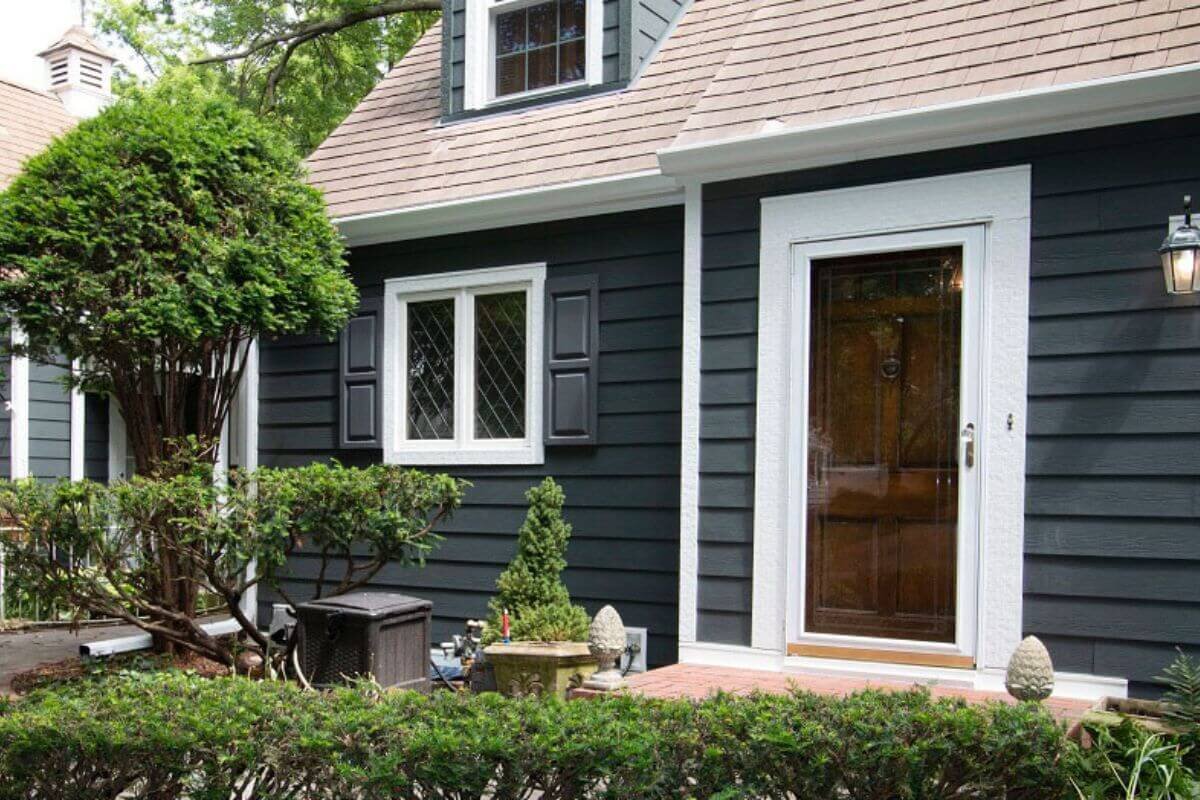
Replacing an exterior door can be a transformative home improvement project, adding both aesthetic appeal and security to your home. However, to ensure a perfect fit and seamless installation, accurately measuring your door is crucial. In this guide, we’ll walk you through the step-by-step process to measure an exterior door for replacement. Follow these instructions to avoid common pitfalls and achieve a successful door replacement.
Why Accurate Measurements Matter
Accurate measurements are the foundation of any door replacement project. Incorrect dimensions can lead to issues such as drafts, difficulty in closing, and compromised security. By taking precise measurements, you can ensure your new door fits perfectly, operates smoothly, and provides the insulation and security your home needs.
Tools You’ll Need
Before you start measuring your exterior door for replacement, gather the following tools:
- Measuring tape
- Pencil and paper
- Level
- Step ladder (if necessary)
Having these tools on hand will make the process smoother and more efficient.
Step-by-Step Guide to Measuring an Exterior Door for Replacement
Measure the Width
- Step 1.1: Open the door and measure the width from the inside of the frame, from one side of the door jamb to the other.
- Step 1.2: Take three measurements: one at the top, one in the middle, and one at the bottom. Use the smallest measurement to ensure the new door will fit the narrowest part of the frame.
Measure the Height
- Step 2.1: Measure the height from the floor to the underside of the top frame.
- Step 2.2: Again, take three measurements: one on the left side, one in the center, and one on the right side. Use the smallest of these measurements to account for any irregularities in the frame.
Measure the Depth
- Step 3.1: Measure the depth of the door frame, from the inside of the interior trim to the outside of the exterior trim.
- Step 3.2: This measurement is crucial for ensuring the door fits snugly within the frame and is properly insulated.
Check the Door Swing
- Step 4.1: Determine the direction in which your door swings. Stand outside the door and note whether it swings inward or outward, and whether the hinges are on the left or right side.
- Step 4.2: This information will help you select a door that matches your existing setup.
Common Pitfalls to Avoid
When measuring an exterior door for replacement, be mindful of these common mistakes:
- Ignoring Frame Warping: Frames can warp over time, so always take multiple measurements and use the smallest one.
- Overlooking Clearance: Ensure there’s enough clearance for the door to swing open and close without obstruction.
- Incorrect Depth Measurement: Failing to measure the depth accurately can lead to improper fitting and insulation issues.
Tips for Ensuring Accurate Measurements
- Double-check Your Measurements: Verify each measurement to avoid costly errors.
- Use a Level: Ensure your measurements are straight and true by using a level.
- Consult a Professional: If in doubt, seek professional help to confirm your measurements and provide additional guidance.
When to Measure an Exterior Door for Replacement
It’s best to measure your door during daylight hours when visibility is good. Ensure that the door is fully accessible and that you have ample space to work around it. If your door has storm doors or screens, remove them temporarily to get accurate measurements.
In Summary
Measuring an exterior door for replacement is a straightforward but essential step in ensuring a successful installation. By following the steps outlined in this guide, you can achieve accurate measurements and avoid common pitfalls. Remember, the key to a perfect fit is precision and attention to detail.
If you have any doubts or need further assistance on how to measure an exterior door for replacement, don’t hesitate to contact us. We’re here to help you every step of the way.


