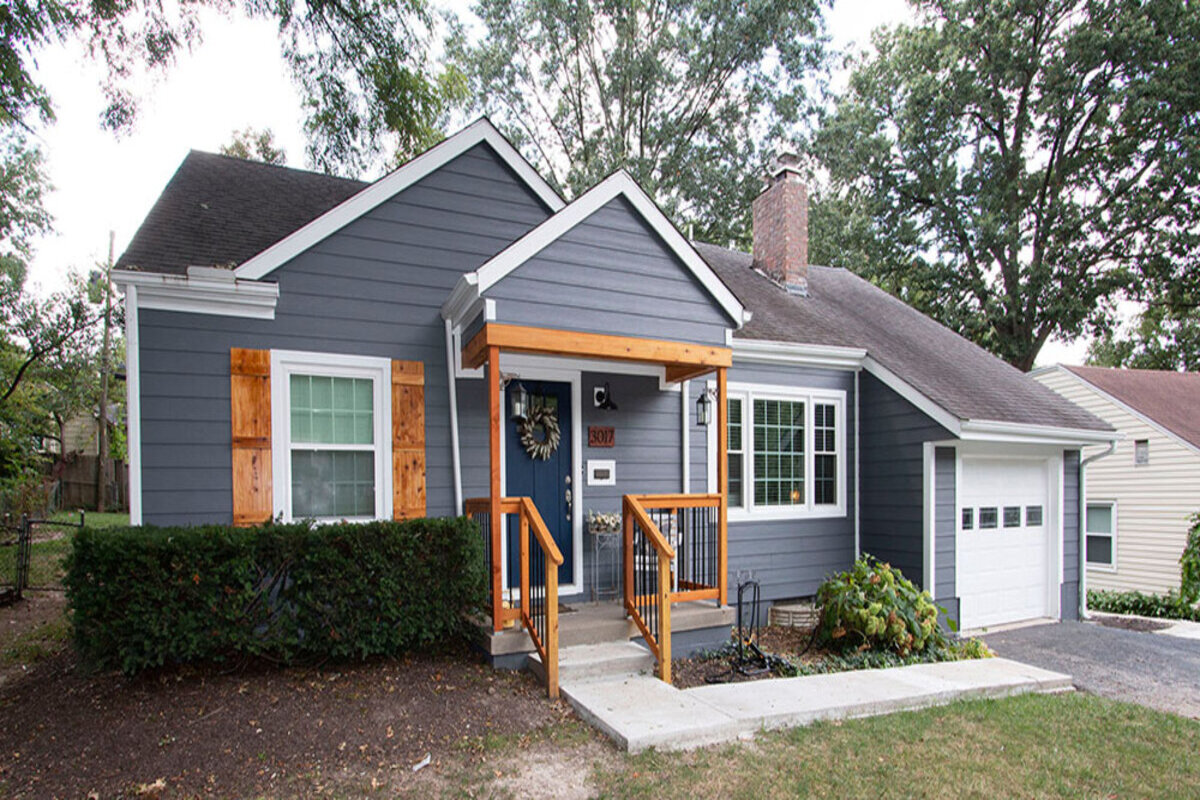
Hardie board siding is a top choice for homeowners looking to upgrade their home’s exterior with a durable and stylish solution. Renowned for its resilience against the elements and its timeless aesthetic appeal, Hardie board siding offers a low-maintenance, long-lasting option that enhances curb appeal. By following these steps, you’ll be well-equipped to install Hardie board siding and transform your home’s exterior.
What is Hardie Board Siding?
Hardie board siding, manufactured by James Hardie, is a high-quality fiber cement product that has become a popular choice for homeowners and builders alike. Known for its durability, resistance to fire, pests, and rot, and its ability to mimic the look of wood, Hardie board siding offers a low-maintenance solution that can last for decades.
Tools and Materials You’ll Need
Before you begin the installation process, gather the necessary tools and materials. Here’s a list to get you started:
Tools
- Measuring tape
- Level
- Circular saw with a diamond-tipped blade
- Hammer
- Nail gun or pneumatic nailer
- Caulk gun
- Chalk line
- Pry bar
- Utility knife
- Safety gear (gloves, goggles, dust mask)
Materials
- Hardie board siding
- Corrosion-resistant nails
- Construction adhesive
- Joint flashing
- Caulk
- Primer and paint (if not using pre-painted siding)
Preparation Steps
1. Inspect and Prepare the Surface
Before installing Hardie board siding, ensure that the surface you’re attaching it to is in good condition. Remove any old siding, repair damaged areas, and install a moisture barrier to protect your home from water damage.
2. Measure and Cut the Siding
Measure the height and width of your walls accurately. Mark and cut the Hardie board siding to the appropriate lengths using a circular saw with a diamond-tipped blade. Always wear safety gear to protect yourself from dust and debris.
Installation Process
1. Installing the Starter Strip
Begin by installing a starter strip at the bottom of the wall. This will ensure that your first row of siding is level. The starter strip should be made of treated wood or a similar durable material.
2. Attaching the First Row
Place the first piece of Hardie board siding on top of the starter strip, making sure it is level. Secure it to the wall using corrosion-resistant nails. Leave a small gap between the siding and the starter strip to allow for expansion.
3. Overlapping the Siding
Each subsequent row of siding should overlap the row below it by at least 1¼ inches. Use a chalk line to ensure each row is straight and level. Attach each piece with nails, placing them about ¾ inch from the top edge of the siding.
4. Installing Around Windows and Doors
When you reach windows and doors, measure and cut the siding to fit around these openings. Use joint flashing at all vertical joints to prevent water infiltration. Apply caulk around the edges of windows and doors to seal any gaps.
5. Finishing Touches
Once all the siding is installed, apply caulk to all joints, corners, and trim to seal any gaps. If you’re using unpainted siding, apply a primer and then paint the siding with a high-quality exterior paint.
Common Mistakes to Avoid
- Skipping the Moisture Barrier: Always install a moisture barrier to prevent water damage.
- Inaccurate Measurements: Measure twice, cut once. Precision is key to a professional finish.
- Improper Nailing: Use corrosion-resistant nails and avoid over-driving them, as this can damage the siding.
Maintenance Tips
- Regular Cleaning: Clean the siding annually with a garden hose and a soft brush.
- Inspect for Damage: Check for cracks or damage periodically and repair as needed.
- Repaint When Necessary: Repaint the siding every 10-15 years, or as needed, to maintain its appearance and protection.
In Summary
Installing Hardie board siding can significantly enhance the durability and aesthetic appeal of your home. By following this guide, you can achieve a professional-looking installation that will stand the test of time.
If you have any questions or need further assistance to install Hardie board siding, don’t hesitate to contact us. We’re here to help you every step of the way.


